3D “Hammer”

When i was doing this assignment I found it rather difficult to choose what hammer I was going to model but I decided to go with the meat mallet/hammer because I liked the way it had the tiny squares on it. I divided up two of the faces of the square and then used the extrude tool to make them extrude from the head of the hammer.

I used a metallic finish just like the one from my image and I think it turned out very well. If I were to do this assignment again I would use my time in class more wisely in order to turn it in on time, and I would probably choose a hammer with a non metallic finish to challenge myself. Below is the before image, my renders of my hammer, and the reference image I used when creating it.

3D Ball Bounce

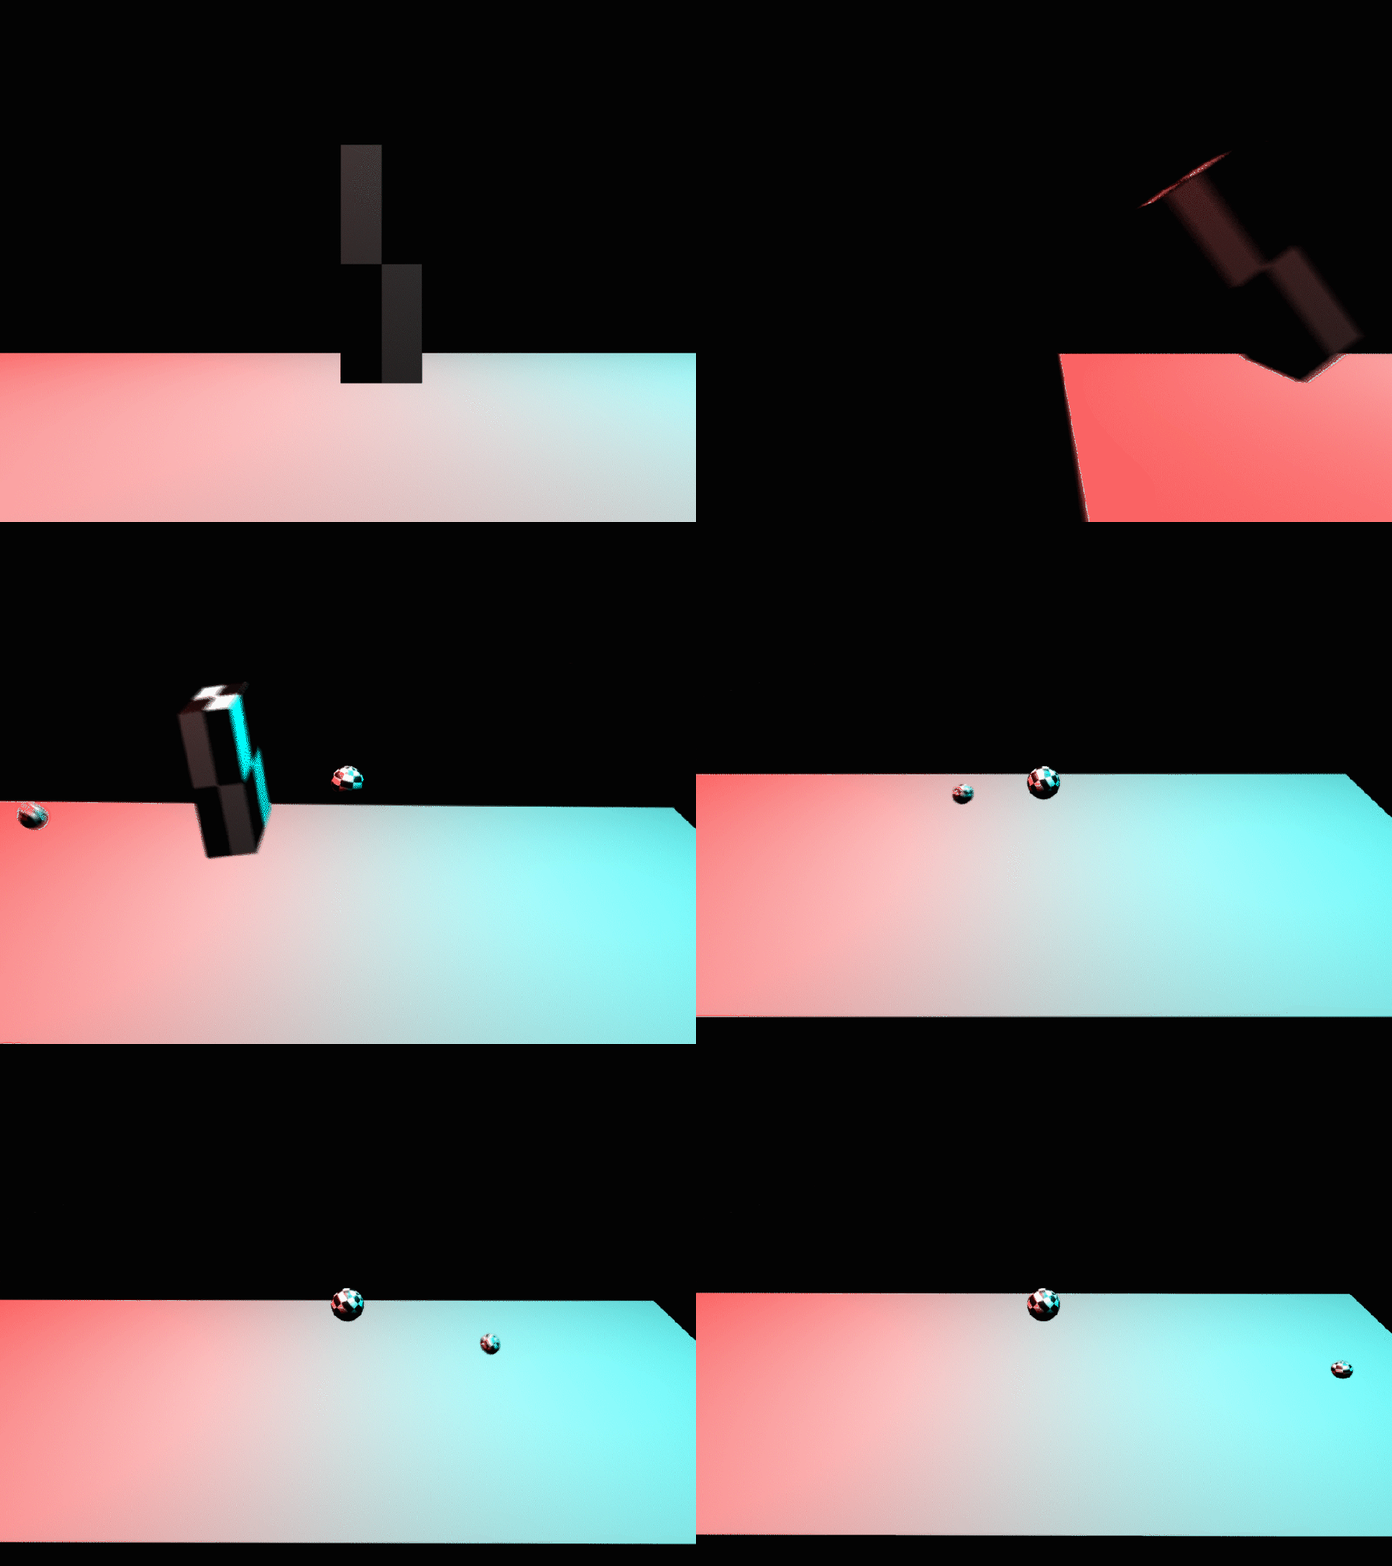
When doing this assignment I used Autodesk Maya 2019 to create the render of the ball bouncing and to add the lights that you see. Maya was a very good program that took a second to learn but once you do it is fairly simple to use. I really liked how I could add colored lights into the scene because it adds color into the project that I really like.

If I were to do this assignment again I would change it so that the ball did not stretch so much when it was bouncing, and make the first camera fly over to where the second camera starts. I do not really like the jump it makes from the first camera to the second one so that would fix it. Below is my final product which is about 5 seconds long.

BBounce Actual GIF


Ancient Temple

When doing this assignment I missed a few days when we went over texture and some other things like water and how to make our own surfaces, but I still think it turned out alright. The temple itself came out very well as I had a video to follow.

Below is a few shots of my temple and the buildings around it, I didn’t get how to import a scene from mudbox and I also wasn’t here when we were told that so I just used a flat surface but it works fine because the desert is flat.

Ancient Temple

When doing this assignment I missed a few days when we were learning the program so it took me a while to figure it all out. I did not really like how this turned out because there’s not any texture as I don’t know how to do that but this is decent for a first go.

I used spotlights to light upĀ  my scene as everything else was giving me trouble and they give off a lot of light in a small area perfect for lighting up my temple while hiding the borders of my scene. I didn’t get any water into the scene but I did get another structure which I am not sure what it is. It is some kind of sand temple looking thing that I thought fit the scene. Below is my scene which is at night to hide the borders and get a wider angle of everything.

Maya Basics

When doing this assignment I decided to make a different kind of burger, and go for a burger that is made out of metal. I don’t know why I decided to do this but I really like how well done the reflections are. They are high quality and you can see the burger in the reflection of the drink.

When I was doing this assignment I used the polygon cube to create all of the fries in the fry holder by duplicating one of the fries and moving it. I added 3 lights to the scene to get good shadows and I added a floor and a backdrop.

Merging Photos

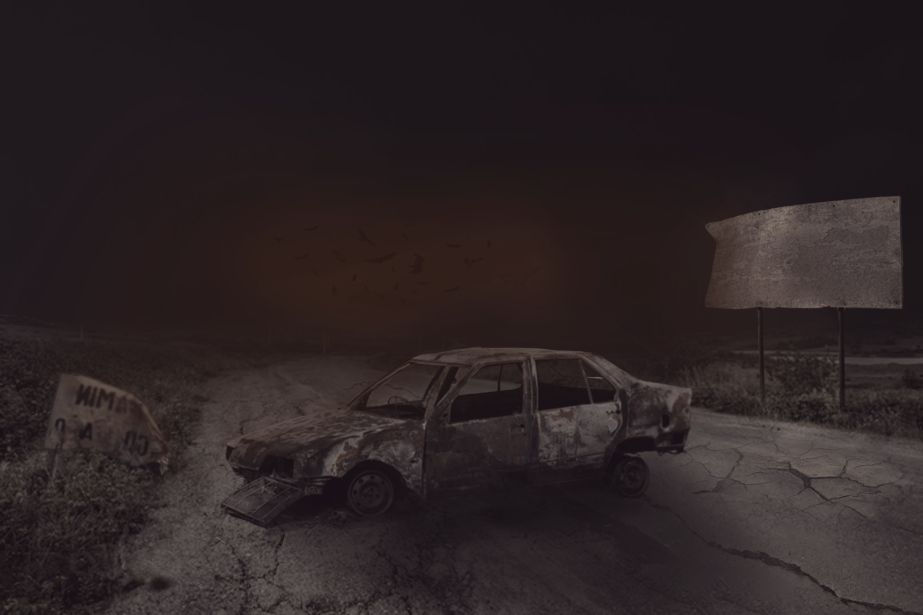
When doing this assignment I learned how much of a difference adding a shadow to something can make. When I added the shadows, it really added to the whole scene and made the photos look like they were supposed to be there.

I really struggled with the colors of the scene because I tried to make the whole scene darker than the example I was following. I added a bit too many curve layers and was confused on what they were doing but by the end I was learning about the tools I was using. below is the result.

ROAD ROAD

Apple Gradient Mesh

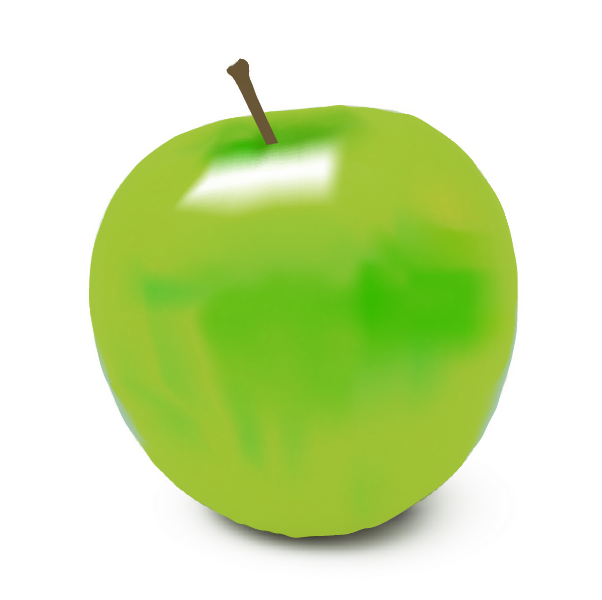
When doing this assignment I found it hard to create a good gradient using the mesh points. I tried to create the look of the apple shining but it did not work very well, as the shining part is just a flat white.

If I were to do this assignment again I would spent more time creating the actual mesh and shaping it better. A better gradient would also help a lot and help give it the three dimensional look. Below is my final product.

Apple Gradient Mesh

Animating Shapes

When doing this assignment I was able to really experiment with After Effects, and I enjoyed that. I decided to make almost a logo, but it just says “Digital Media Ben Cazares 2019”. I made it almost look like it zooms in and the proportions are very good throughout the animation.

If I did this assignment again, I would add some more color changes to the ones I already have, to go through the whole color spectrum. I do like the background as it goes through a color cycle from Red to yellow/orange back to red, as it gives some life and color to the white text and circles. Below is a link to my final product.

https://drive.google.com/file/d/1ZZD9vUbbz1m2ApsPQVUTXwzDxQT1FfIG/view?usp=sharing

Intro to After Effects – Lyric Video

When doing this assignment I was able to understand just a glimpse of what animators deal with. Even if this is much better than it used to be, it still takes an immense amount of time to do. I can really appreciate the power of computers now.

The computer auto filling the gaps between my key frames saved so much time, so that was my favorite part of this assignment. My song did repeat itself a lot, but most songs do. If I were to do this again I would spend more time trying to make all the text look more uniform, and on lines. Below is a link to my final product.

https://drive.google.com/file/d/1iF3pRTa5TAESRbQsb6JD_CrMDe2zVuIF/view?usp=sharing

Green Apple

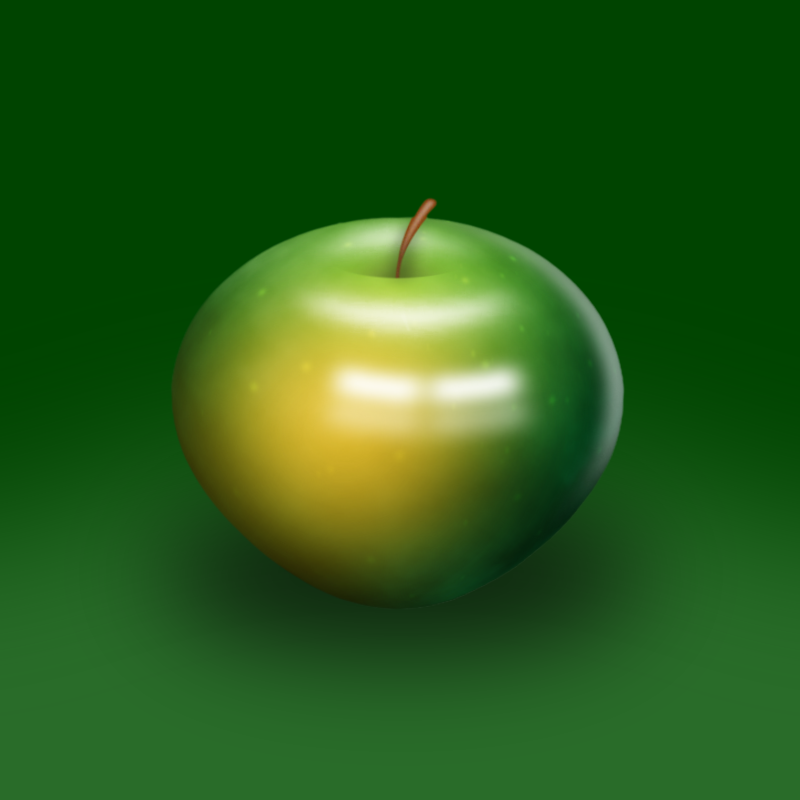
When doing this assignment I used a lot of shadows and highlights to give the apple a 3-D look and I am pretty happy with how the final product came out. I think the apple looks pretty 3-D and the shadows all line up very well. I used lots of layers and also used a ton of filters.

This assignment was fun because we started it from scratch and didn’t manipulate a photo, so it feels like I really made it. One thing I struggled with was the shape of the apple, and also the stem. If I did this assignment again I would try and get the stem perfect and spend more time trying to properly shape the apple. Below is my final product.

Green Apple